Contents:
- Why Your Straightener Can Create Curls on Short Hair
- Essential Tools and Budget for Short-Hair Curling
- Temperature Settings: The Critical First Step
- Section and Prepare: The Foundation for Success
- The Four-Step Technique for Curling Short Hair
- Step One: Isolate a Thin Section
- Step Two: Position the Straightener at the Roots
- Step Three: Rotate and Glide
- Step Four: Hold and Cool
- Regional Styling Variations: Adjusting for Your Climate
- Styling Short-Hair Curls: Beyond the Basic Curl
- Creating a Tousled Look
- Adding Volume to Flat Sections
- Side-Swept Variations
- Common Mistakes and How to Fix Them
- Product Recommendations for 2026
- Caring for Short Hair Between Styling Sessions
- How to Make Curls Last All Day
- Frequently Asked Questions
- Can you curl very short hair with a straightener?
- How long does it take to curl short hair with a straightener?
- Will straightening and curling damage my short hair?
- What straightener is best for short hair?
- Can you curl curly hair that’s short using a straightener?
- Your Straightener’s Hidden Potential
You’re running late, you’ve got five minutes, and your straightener is sitting on the bathroom shelf. Most people grab it to flatten their hair, but what if I told you that same flat iron can create gorgeous curls in minutes—even on short hair? This is the sort of styling hack that transforms your morning routine without requiring a cupboard full of expensive tools.
Short hair doesn’t mean you’re limited to a single style. The reality is that many people with cropped cuts, bobs, and pixie-adjacent styles feel stuck in a styling rut, especially in smaller flats where storage space is precious. A straightener, which costs between £15 and £60 depending on quality, is one of the most versatile hair tools you can own—and learning to curl with it opens up countless possibilities.
Why Your Straightener Can Create Curls on Short Hair
The confusion often starts here: a straightener creates curls through rotation and tension, not heat alone. When you twist the plates while moving the tool down a section of hair, you’re wrapping the hair around the barrel and setting a curve. This principle works regardless of hair length—the mechanics don’t change between shoulder-length and ear-grazing cuts.
Short hair actually has some advantages for this technique. Shorter strands hold curls faster because there’s less weight pulling the wave down. A 2-inch curl in short hair looks bouncier and holds its shape longer than the same curl in long hair. The trade-off? You need more precision. There’s less margin for error when you’re working with a smaller canvas.
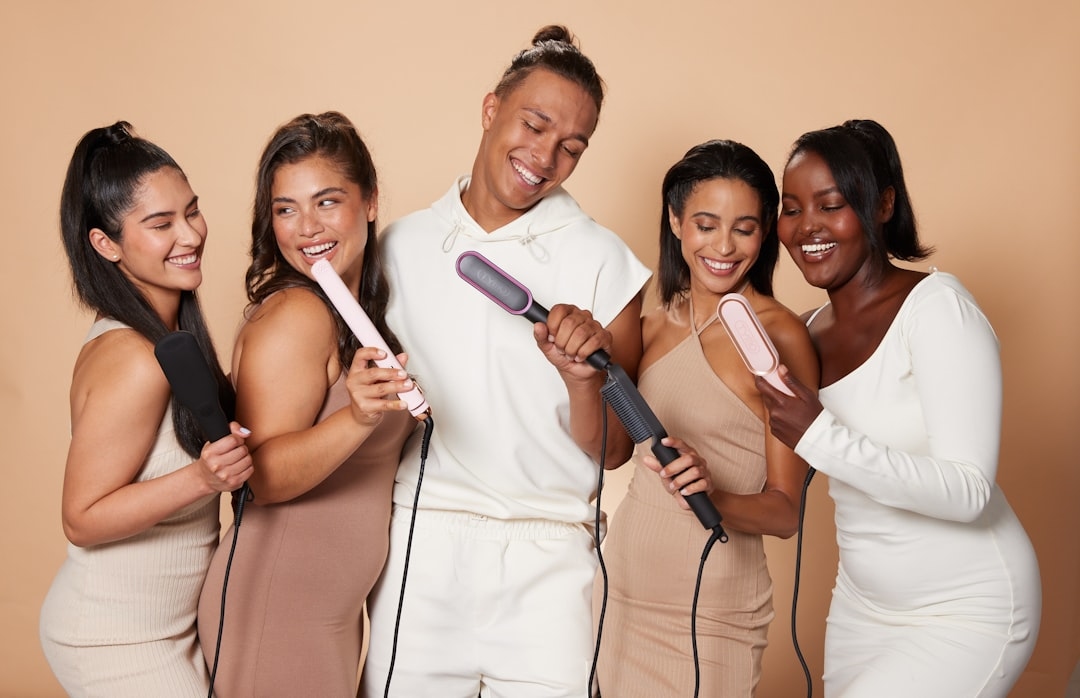
Your straightener’s width matters more for short hair than for longer lengths. A straightener that’s 1 inch wide is generally ideal for short styles; anything wider makes it awkward to target individual sections. If you’re using a wider straightener meant for thick, long hair, you’ll struggle to isolate small sections on a pixie or short crop.
Essential Tools and Budget for Short-Hair Curling
You don’t need many items, which is brilliant news if you’re working with limited space. Here’s a realistic breakdown:
- Hair straightener: £20–£60 (ceramic plates are standard; look for adjustable temperature control)
- Heat protection spray: £5–£12 (essential to prevent damage)
- Lightweight texturizing spray or sea salt spray: £6–£10 (gives grip to slippery hair)
- Small clips or sectioning clips: £3–£8 (optional but helpful for short hair)
- Light hairspray: £3–£7 (sets curls without weighing them down)
Total investment: £37–£97 for a complete setup. You likely already own a straightener, which means you’re really spending just £15–£30 on the supporting products. Compare that to a salon blow-dry with curls at £25–£40 per visit, and you’ll recoup your investment within a couple of weeks.
Temperature Settings: The Critical First Step
This is where most people go wrong. Your straightener’s temperature setting dictates how quickly the curl sets and how long it lasts. For short hair, aim for 160–190°C. Going hotter doesn’t create better curls; it just damages your hair faster, especially on shorter styles where every millimetre of length matters.
Fine or damaged hair should stay at the lower end—160–175°C. Thick, healthy hair can handle 180–190°C. If you’re not sure which category you fall into, start at 170°C and test on a hidden section at the nape of your neck. If the straightener glides smoothly with a gentle sizzle, you’ve got the right temperature. If it crackles or smokes, lower it by 10 degrees.
Let your straightener preheat for at least three minutes. A cold or barely warm straightener will create limp waves, not defined curls—you’ll waste time and damage your hair for no payoff.
Section and Prepare: The Foundation for Success
Preparation separates good curls from mediocre ones. Start with completely dry hair (wet or damp hair won’t hold a curl shape). Apply heat protection spray section by section, working from roots to tips. Don’t just spray your whole head at once and expect the product to reach everywhere—mist each section as you work.
For short hair, divide your head into four quadrants: crown, right side, left side, and nape. This sounds excessive for short styles, but on cropped cuts, it’s the difference between controlled curls and frizz. Use small sectioning clips to keep unstyled sections out of the way.
A reader from Manchester shared her breakthrough moment: “I used to try curling my entire head with the straightener at once, wondering why some bits looked great and others were flat. Once I started sectioning properly—even though I have really short hair—everything changed. I went from thirty minutes of frustration to ten minutes of actual styling.”
The Four-Step Technique for Curling Short Hair
Step One: Isolate a Thin Section
Grab a section about the width of your straightener’s plates, or slightly narrower. For short hair, this might be just 1 inch wide. Thin sections curl faster and hold longer. If your section is too thick, the heat won’t penetrate evenly, and you’ll end up with a flat wave at the roots and a slight bend at the tips.
Step Two: Position the Straightener at the Roots
Place the straightener close to—but not touching—your scalp. If you’re wearing the straightener horizontally (plates parallel to the ground), you’re about to create a wave. If you’re wearing it vertically, you’re creating a tighter curl. For short hair on a first attempt, horizontal positioning is easier to control.
Step Three: Rotate and Glide
This is the crucial movement. As you slowly move the straightener down the hair section, simultaneously rotate it a quarter turn (90 degrees) in the direction you want the curl to go. If you’re rotating clockwise, the curl will curve away from your face. Counter-clockwise creates an inward curl toward your face.
Move slowly—this should take 3–5 seconds per section. Rushing creates waves instead of curls. Your hand should move at the speed you’d use to open a squeaky door, not the speed of answering a text message.
Step Four: Hold and Cool
Once you’ve rotated through the full section, hold the straightener in that curved position for 2–3 seconds before releasing. Don’t slide it out horizontally; instead, open the plates slightly and let the curl spring out. The brief hold lets the hair set the shape while it’s still warm.
Let each curl cool naturally for a few seconds before touching it. Warm curls are fragile. Moving on to the next section while the previous curl is still hot will disturb the shape.
Regional Styling Variations: Adjusting for Your Climate
Curls behave differently depending on where you live. Southeast England and the Midlands tend to have higher humidity, which relaxes curls faster. West Coast and Scottish climates are often drier, so curls last longer. Northern Ireland and Wales, with their Atlantic moisture, fall somewhere in between.
If you live in a humid area, use a stronger-hold hairspray (£4–£9) and consider a humidity-resistant finishing spray. In drier regions, a light texture spray is usually enough. This small adjustment prevents you from overstyling your hair or understyling it depending on where you are.
Styling Short-Hair Curls: Beyond the Basic Curl
Creating a Tousled Look
Not every curl needs to be uniform. Once you’ve curled your hair using the technique above, use your fingers to break up the curls slightly. Work a pea-sized amount of texture spray through the curls, scrunching gently. This creates that effortless, beachy appearance without looking artificially waved.
Adding Volume to Flat Sections
Short hair often looks flat at the crown because the weight of the hair works against volume. Curl the sections around your crown more tightly than the sections at the sides. The additional texture creates an illusion of height and thickness.
Side-Swept Variations
Curve all your curls in the same direction—toward one side of your face. This creates a more sophisticated, intentional look compared to randomly angled curls. It’s particularly effective on asymmetrical bobs or undercut styles.
Common Mistakes and How to Fix Them
Mistake: Inconsistent Curl Direction
If your curls go different ways, your hair looks chaotic rather than intentionally styled. Decide at the start whether you’re curling everything away from your face or toward it. Stick to that decision throughout your entire head.
Mistake: Burning Your Scalp
This happens when you position the straightener too close to your roots while it’s still hot from the previous section. Always place the straightener on hair that’s at least ½ inch away from the scalp, and let it cool for a few seconds between sections if you’re working quickly.
Mistake: Straight Sections Between Curls
If parts of your hair stay straight while other parts are curled, you’re releasing the straightener too early. Rotate all the way through the section before opening the plates. If this is happening consistently, your straightener might not be hot enough—check your temperature setting.
Mistake: Curls Dropping Immediately
Short, fine hair drops curls faster than other hair types, but this usually means your section was too thick or your temperature was too low. Try sections half as wide, or increase the temperature by 5–10 degrees if your hair type can handle it.
Product Recommendations for 2026
If you’re starting from scratch, these products deliver good results without breaking the bank:
- Budget straightener: Dyson Corrale (around £400, but lasts years) or Revlon (£25–£35, solid beginner choice)
- Heat protection: Lee Stafford Heat Protection Spray (£5.50)
- Texture spray: Not Your Mother’s Beach Babe (around £6)
- Hairspray: Tresemmé TRES Two (£2–£3, flexible hold)
These are widely available from Boots, Superdrug, and Amazon UK. You don’t need the most expensive products for good results—consistency and technique matter more than brand names.
Caring for Short Hair Between Styling Sessions
Heat styling is damaging, even when done correctly. Minimise the damage by using heat protection every single time, never heat-styling wet hair, and leaving at least one day between full straightener sessions. Your short hair will thank you with longer-lasting curls and healthier shine.
Invest in a weekly deep-conditioning treatment (£4–£8). Short hair is more vulnerable to breakage because every damaged millimetre is more noticeable. A good conditioner keeps your hair elastic and prevents the brittleness that makes curls look dull and fragile.
How to Make Curls Last All Day
Even with perfect technique, gravity works against you. Here’s how to extend the life of your curls:
- Use light hairspray between curl sections—don’t wait until the end to spray everything at once
- Don’t brush your curls; use your fingers or a wide-tooth comb to separate them
- Sleep on a silk pillowcase (£8–£15) to prevent friction that relaxes curls overnight
- Avoid heavy products like oils or thick serums on the day you’re curling—they weigh down waves
- Refresh day-old curls with a texture spray and gently scrunch your hair
Realistic expectation: short-hair curls created with a straightener last 6–12 hours depending on your hair type and humidity. That’s plenty for a day out or an evening event, but don’t expect overnight hold without extra effort.
Frequently Asked Questions
Can you curl very short hair with a straightener?
Yes, but there’s a practical minimum length of about 1.5 inches. Anything shorter is difficult to grip with the straightener plates. Pixies and undercuts on that borderline can work, but require more patience and smaller sections.
How long does it take to curl short hair with a straightener?
With practice, 10–15 minutes. Your first attempts might take 20–30 minutes as you learn the rotation technique. The investment in learning is worth it—this is still faster than waiting for a salon appointment and costs significantly less.
Will straightening and curling damage my short hair?
Heat damage is cumulative regardless of hair length, but short hair shows damage more obviously because there’s no option to cut off the damaged ends without changing your style. Use heat protection religiously, don’t exceed 190°C, and limit heat styling to 2–3 times per week. Your hair will stay healthy.
What straightener is best for short hair?
Look for a straightener with a width of 1 inch or less, adjustable temperature control, and ceramic or tourmaline plates. Plates should be smooth without ridges. Expensive doesn’t always mean better—a £30 straightener with these features outperforms a £100 model without temperature control.
Can you curl curly hair that’s short using a straightener?
Curly hair requires more heat and more product to override its natural texture. You’d use the same technique but at 190°C or slightly higher, with a stronger-hold hairspray. The results are smoother waves rather than tight curls, which actually looks sophisticated on short curly hair.
Your Straightener’s Hidden Potential
Once you’ve mastered this technique, you’re no longer limited to straight hair. Your straightener becomes a styling tool that creates volume, texture, and shape. That five minutes you spend learning the rotation technique pays dividends every single time you style your short hair.
The best part? You’ve probably already got a straightener at home. No new purchase required to completely change how your short hair looks. Start with one small section at the back of your head where mistakes are least noticeable, practise the rotation movement, and build from there. Within a few sessions, creating beautiful curls becomes automatic—no more straightening, just styling.
Add Comment